Controller
As a minimalist framework that mimics Sinatra, Pinatra does not provide the Controller and Model base components by default, but can be implemented with a simple DIY.
Below I will show how to use controllers in the Pinatra framework.
The basic design of controllers in routing
Pinatra routing provides a very simple way to call Controller@method, which is followed by the following simple steps:
- Define the root namespace of the controller. The default is '\', which is the root space.
- When you get a response request like
Controller@method, new a object, then call the method and pass in the parameters.
// Fake code
$a = $baseNameSpace.$controller; // '\NameSpace\HomeController';
$b = $method; // 'home'
(new $a)->$method($a, $b, $c ...);
Using the controller
It takes three steps to load the controller into Pinatra.
1. Setting up a namespace
The main purpose of setting up a namespace is to autoload, which is to let us not need to manually require the file before calling the class.
The PSR-4 specification is to make the namespace as the same structure of the folder and file name, the most trouble-free. The PSR-0 specification allows each file to be set internally, with the disadvantage of rerun composer dump-autoload for each modification.
Pinatra recommends the PSR-4 autoloading specification as follows.
- New controllers folder at the same level as the public folder
- Modify composer.json to add the following:
"autoload": {
  "psr-4": {
    "Controllers\\": "controllers/"
  }
},
- Run the command
composer dump-autoload
2. Let Pinatra know
Add a line of code to public/index.php:
\Pinatra\Routing\Router::$baseNamespace = '\\Controllers\\';
3. try it
Creating a controller
Create a controllers/HomeController.php file with the following contents:
<?php
namespace Controllers;

class HomeController
{
  public function home()
  {
    echo "Welcome to homepage!";
  }
}
Create a route
get('home', 'HomeController@home');
Test results
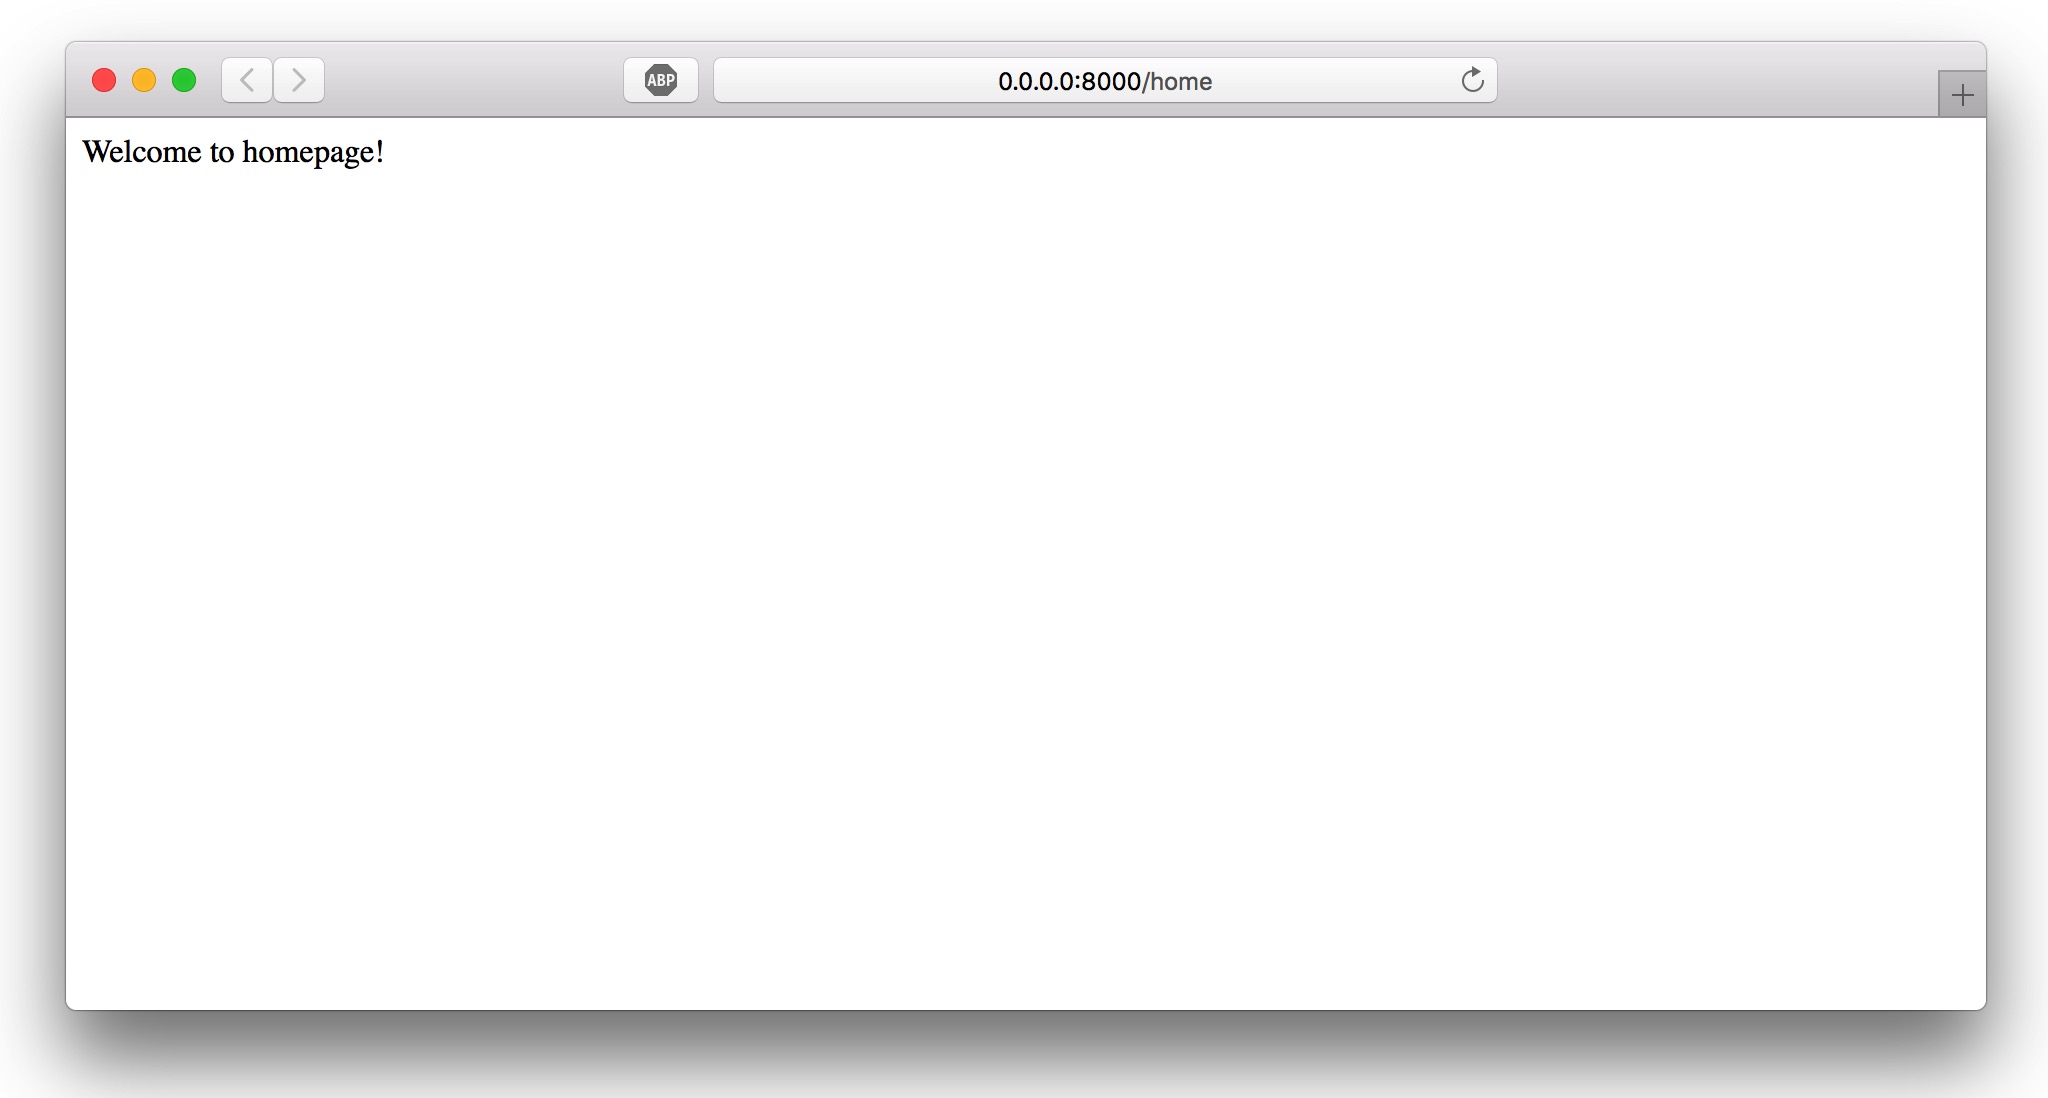
Visit http://0.0.0.0:8000/home to get the following page, success!
